


1. Keep Them Short
While long nails are lovely, it's a fact that they don't hold up as well as shorter cuts do. Shorter nails are less likely to break, chip and peel so opt for this style when clipping and filing.
2. Choose Your Topcoat Wisely
Choosing to go matte or high shine aren't the only questions to ask yourself when selecting a topcoat. You'll want to opt for a formula that boasts chip-resistance, protection, and strengthening—and bonus points if there is a hydrating component, too.
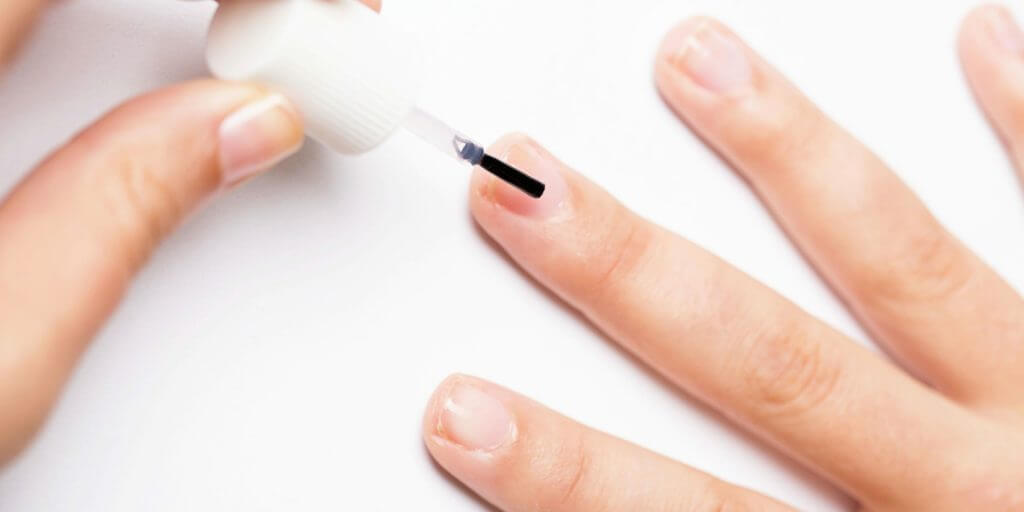
3. Use the Right Base Coat
We all know that it's what's on the inside that counts, right? While many are quick to blame the polish or the topcoat for their manicure woes, the basecoat is equally, if not more important—and it's a step that many skip over entirely. By using a grippy, strong basecoat, you'll significantly extend the life and look of your manicure.
4. Reapply Your Topcoat Every 2-3 Days
Contrary to popular belief, topcoat is not a set-it-and-forget-it type of application. Like most things worthwhile in life, it requires maintenance. For best results and preservation of your mani, reapply your topcoat every two to three days.
5. Take Care of Chips Right Away
Ever look at a chipped nail, roll your eyes, get annoyed and then totally forget about it? Yep, us too. But tackling chips when they first happen will help to preserve your manicure in a few ways and the sooner you restore your nails back to a cohesive, flaw-free look, the better. Odds are if you let the chip sit, you just might peel and pick your way into mani-destruction. Also, fixing the chip will prevent it from spreading and getting worse on it's own.
6. Use Gloves
Protecting your hands from water, harsh household cleaners and any heavy-duty work is always a good idea, but it is an especially important part of protecting your polish, too.

7. Skip the Hot Bath
You know how you can get pruny after spending too much time in the pool or bath? Well, just think of what that's doing to your nails at the same time. Being submerged in water for a significant amount of time can result in moisture seeping in beneath the surface of the polish, which can cause peeling and flaking prematurely.
Dr. Lombardi says that although nails are firm to the touch, they are "actually made of several layers that have the ability to absorb water. Submerging your hands in water or taking long, hot baths can make the nails expand as they absorb the water." Then, when they dry, they contract. The expanding and contracting can cause the chipping of your polish.
8. Let Them Dry Properly
Waiting for your nail polish to dry is about as exciting as, well, watching paint dry. But, it's a necessary evil if you want to preserve your mani. Did you know that most polishes aren't completely dry for nearly an hour after application? We were surprised, too.
So even though they may feel dry to the touch after a few minutes, or if you've had them in the dryer for the recommended amount of time, it's not really hardened and settled for quite sometime after that. Keep this in mind and tread very carefully while your nails are still wet.
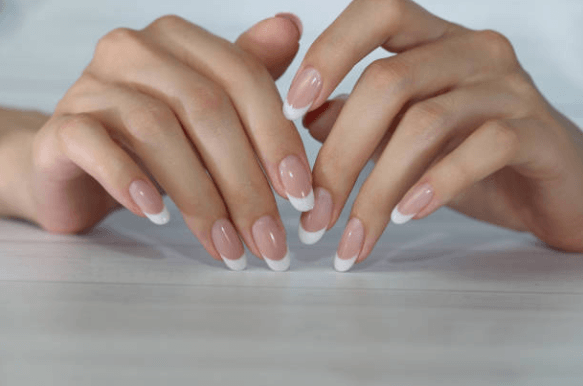
9. Choose Your Color Wisely
While we love vibrant, deep, dark hues for a statement mani, unfortunately, they are the first to show nail growth, breakage and chipping. So, to make your mani last longer (or at least look good for a bit longer) opt for more mellow colors like pastels and neutrals or even a french manicure.
10. Wipe with Vinegar
Did you know that wiping your bare nails with white vinegar will help to remove excess oils and serves as a natural cleanser pre-mani? Swipe each nail with vinegar on a cotton swab and let them air dry to ensure a clean slate for your manicure. Then, apply base coat, polish, and topcoat.
11. Paint ONLY Your Nails
It's not intentional, but sometimes when applying polish, it will bleed onto your cuticles or skin. Try to avoid this at all costs, because it can essentially break the seal between the polish and your nail so that when it comes off your skin or cuticle, it will lift off the nail as well.
12. Don't Bite
This sounds like a no-brainer but is often easier said than done. Even if you're not a nail biter, biting your cuticles or any skin around the nail can lead to a manicure disaster, so avoid biting or putting your fingers anywhere near your mouth. For many, biting your nails is a subconscious nervous habit. In other words, when you feel the urge to do so, try to focus on your breath instead (three breaths slowly in, three out). There are also foul-tasting topcoats you can try, too.
13. Roll, Don't Shake!
It seems to be a common practice to bang the bottom of the nail polish bottle on your palm, or to shake it up to get even color and the last bit out of the bottle — but in doing so, you'll actually create air bubbles. Then, when you apply the polish, even though the bubbles may be undetectable, they'll cause your mani to chip faster than it should. Instead of shaking or tapping, roll the bottle between your palms with a rapid but smooth pace.

14. Cool it!
Ever use a blowdryer to dry your nails? Don't! There's no need for heat to aid in the drying process as it will actually delay drying. Instead, use cool air or a fan at room temperature.
15. Ice, ice baby.
Instead of impatiently running out before your nails are dry, try this speed-drying technique instead: Fill a bowl with ice water, submerge your nails for about three or four minutes, and when the water begins to bead up on the surface of your nails, you'll know you're done. This will also harden the polish more than a standard air dry. By speeding up your drying time, you're less likely to smudge them before they're ready.
16. Wrap the Tip
When applying the polish, be sure to wrap the polish around the tip(capping the tip), following the curvature of the nail and finishing slightly underneath the tip. If you just stop at the tip of your nail, it leaves them more prone to chips and cracks. However, by wrapping, you essentially create a seal that makes the manicure harder to damage.
If you loved reading this blog, you can view our latest blogs here.
Please note Crystal Clawz products have a long lasting wear (up to 6 weeks) with no lifting, chipping, fading or peeling.
You can view our products here.